 Save to Pinterest
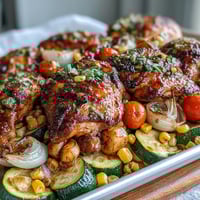
 There's something almost magical about the moment when everything in one pan comes together—that split second when the steam clears and you realize dinner is actually done. My kitchen used to feel chaotic on weeknights until I started making this honey garlic chicken and rice, a dish that somehow manages to taste like it took hours while you're cleaning up in under an hour. The first time I nailed it, my partner walked in mid-cook and just stood there breathing in the garlicky sweetness wafting from the stove, then asked if we could eat it twice that week. Now it's become my go-to when I want something that feels restaurant-quality but doesn't demand a culinary degree.
I remember making this on a Tuesday when everything felt rushed, and honestly, I expected it to be forgettable. Instead, my kids asked for seconds, which basically never happens, and my daughter even requested it for her school lunch the next day (cold, straight from the container). That's when I knew this recipe had won everyone over—not through fancy technique, but through the kind of honest, unpretentious flavors that feel comforting and exciting at the same time.
Ingredients
- Boneless, skinless chicken thighs or breasts (1 lb, cut into 1-inch pieces): Thighs stay juicier and more forgiving than breasts, but breasts work fine if that's what you have on hand—just watch them so they don't dry out during that quick sear.
- Long-grain white rice (1 cup, rinsed): Rinsing removes the excess starch, which keeps your rice from turning into mush and helps those grains stay separate and fluffy.
- Broccoli florets (2 cups): Adding them halfway through cooking is the secret to keeping them crisp on the edges while they soften just enough to absorb the sauce.
- Carrot, diced (1 medium): Carrots add sweetness and stay tender without falling apart, plus they make the pan look intentionally colorful.
- Green onions (3, sliced): Save some for garnish at the end—they brighten everything up with a fresh, sharp bite.
- Honey (3 tbsp): This is what makes the sauce glossy and special; don't skip it or substitute it thinking brown sugar is the same—honey has a different character here.
- Garlic, minced (4 cloves): Mince it yourself if you can; jarred garlic works, but fresh has that punch that makes the whole dish sing.
- Low-sodium soy sauce (1/4 cup): Low-sodium gives you room to taste as you go; regular soy sauce can overpower everything else.
- Rice vinegar (1 tbsp): This adds brightness and cuts through the richness without making anything taste sour.
- Sesame oil (1 tbsp): Use it here, not for cooking—a drizzle at the end would also work, but mixing it into the sauce distributes that toasty flavor throughout.
- Ground black pepper (1/2 tsp): Fresh-cracked is better than pre-ground, but use what you have.
- Low-sodium chicken broth (2 cups): The foundation of everything; don't be tempted to use bouillon cubes unless you're comfortable adjusting for saltiness.
- Sesame seeds (1 tbsp, optional garnish): Toast them in a dry pan for 30 seconds if you have time—the flavor becomes so much deeper.
Tired of Takeout? 🥡
Get 10 meals you can make faster than delivery arrives. Seriously.
One email. No spam. Unsubscribe anytime.
Instructions
- Make your sauce first:
- Whisk honey, garlic, soy sauce, rice vinegar, sesame oil, and black pepper together in a small bowl and set it aside. This way you're not scrambling while the pan is hot, and the garlic gets a chance to wake up in the liquid.
- Sear the chicken:
- Heat your skillet over medium-high with a light drizzle of oil, then add the chicken pieces and let them sit for 2-3 minutes per side until they're golden on the outside but still a little rare inside—they'll finish cooking in the liquid, so don't overthink this step. You're just looking for color and a little crust here.
- Build the base:
- Add your rinsed rice, carrots, and most of the green onions to the pan with the chicken and stir everything together so the rice gets coated with the oil and starts to toast slightly. This toasting adds a subtle depth that makes people ask what makes it taste so good.
- Add the liquid and sauce:
- Pour in the sauce you made earlier and the chicken broth, stirring well to combine everything and break up any rice clumps. Bring it to a gentle boil, which usually takes 2-3 minutes.
- First simmer:
- Reduce heat to low, cover the pan, and let it simmer for 15 minutes without peeking—I know it's hard, but lifting the lid lets steam escape and throws off the timing. You'll hear gentle bubbling underneath the lid, which is exactly what you want.
- Add the broccoli:
- After 15 minutes, carefully lift the lid (watch out for that hot steam), and scatter your broccoli florets evenly across the top without stirring them in—they'll steam-cook on top while staying mostly intact. Replace the lid and cook for another 8-10 minutes until the rice is tender and the liquid has mostly absorbed.
- Rest and fluff:
- Remove from heat and let it sit covered for 5 minutes—this helps any remaining liquid get absorbed and lets everything relax. Then gently fluff the rice with a fork, which brings air back into it and distributes the broccoli throughout.
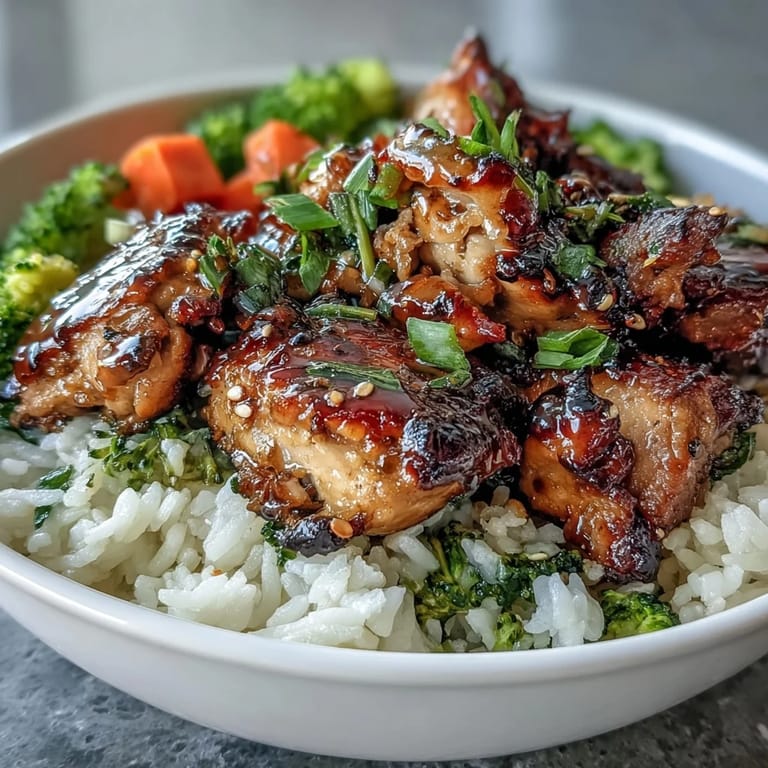
- Serve with garnish:
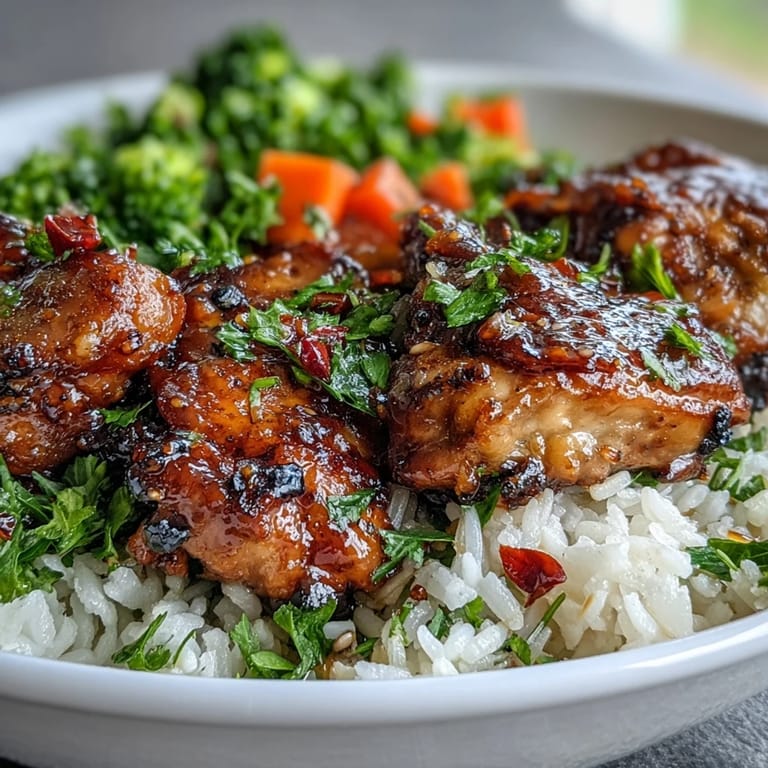
- Plate it up and scatter your reserved green onions and sesame seeds on top for color, texture, and that fresh finish that makes it feel restaurant-ready.
 Save to Pinterest
 I'll never forget the afternoon my mom tried this and suddenly understood why I was making it so often—she tasted it and just went quiet for a moment, then said it was the kind of thing that makes you feel capable in the kitchen even if you're not. That's really what this dish is about for me now: it's proof that delicious, satisfying meals don't require stress or complicated techniques.
Why One Pan Changes Everything
Cooking in one pan isn't just about laziness (though that's part of it)—it's about building flavor as you go. When you sear the chicken first, those browned bits stick to the bottom of the pan, and then the rice toasts in that same oil, picking up all that umami before the liquid even arrives. By the time everything is simmering together, the flavors have already started bonding with each other, which is why this tastes so much more coherent than if you'd cooked each component separately. It's also genuinely faster because there's no chopping step that happens while other things cool down, and your water consumption stays minimal since you're not washing three different pans.
Timing and Temperature Tips
The key to nailing this dish is respecting the two cooking phases: the first 15 minutes of simmering on low heat while covered is when the rice absorbs the broth and the chicken finishes cooking all the way through. During this time, resist the urge to check on it or stir—the steam under that lid is doing the actual work. The second phase, when you add the broccoli and cook for another 8-10 minutes, is quick and straightforward, which is why adding broccoli at the beginning would be a mistake. If you started with broccoli, it would either be overcooked mush or crunchy in an unpleasant way depending on whether you like it soft. By adding it late, you get that perfect texture where it's tender but still has a little snap to it.
Variations and Flexibility
This recipe is honestly more forgiving than it looks, which is part of why I return to it so often. Brown rice absolutely works if that's your preference—just increase the broth to 2 1/2 cups and give it about 35-40 minutes on the first simmer before adding broccoli, since brown rice needs more liquid and time to soften. If you want more heat, add 1/2 teaspoon of crushed red pepper to the sauce, and if you're looking for extra vegetables, snap peas or bell peppers slip right in without throwing off the timing. I've even added frozen peas at the very end, and they warmed through perfectly in the residual heat. The one thing I wouldn't change is the honey-garlic-soy balance, because that's really the backbone of what makes this taste good.
- Try brown rice for a nuttier texture, but plan for about 35-40 minutes of initial simmering.
- Add crushed red pepper, snap peas, or bell peppers based on what you have or what sounds good that night.
- Cold leftovers are surprisingly good straight from the container—the rice firms up and the flavors actually deepen overnight.
 Save to Pinterest
 This dish has become one of those recipes I reach for when I want to feel like I've cooked something special without turning my kitchen into a war zone. It's the kind of meal that brings people back to the table asking for seconds, and that's really the whole point.
Common Recipe Questions
- → Can I use brown rice instead of white?
Yes, substitute brown rice for white rice. Increase the chicken broth to 2 1/2 cups and extend the simmering time to 35-40 minutes before adding the broccoli florets.
- → How do I know when the rice is fully cooked?
The rice is done when it's tender and all liquid has been absorbed. If grains still have a slight crunch, add a splash more broth and cook for another 2-3 minutes.
- → Can I make this dish spicy?
Absolutely. Add 1/2 teaspoon crushed red pepper flakes to the honey garlic sauce mixture for a nice kick. You can also drizzle sriracha over individual servings.
- → What other vegetables work well in this dish?
Snap peas, bell peppers, diced zucchini, or snow peas make excellent additions. Add heartier vegetables like carrots with the rice, and tender ones like snap peas when you add the broccoli.
- → Can I use chicken breasts instead of thighs?
Both work beautifully. Chicken breasts stay tender in this cooking method, though thighs offer slightly more richness. Cut either into uniform 1-inch pieces for even cooking.
- → How long do leftovers keep?
Store in an airtight container in the refrigerator for up to 4 days. Reheat gently in the microwave with a splash of water to refresh the rice, or warm in a skillet over medium heat.