 Save to Pinterest
 There's something almost meditative about making sushi rolls at home—the way your wet fingers glide across warm rice, the satisfying crunch when you bite through that first piece. I discovered this avocado and cucumber combination on a lazy Saturday afternoon when my fridge was nearly empty but my craving for something fresh and healthy was impossible to ignore. What started as an improvised lunch became my go-to when I want something that feels restaurant-quality but takes barely half an hour. These rolls are forgiving, beautiful, and they've converted more than a few skeptics who thought sushi was too fussy to make at home.
I'll never forget feeding these rolls to my friend Marco, who'd spent three years in Tokyo and was painfully critical of homemade sushi. He took one bite, then another, and finally admitted they were better than he expected—which, coming from him, felt like winning an Olympic medal. That moment taught me that simplicity and fresh ingredients matter far more than technique, and since then I've made these rolls probably a hundred times, each batch getting a little more confident.
Ingredients
- Sushi Rice: The foundation of everything—look for the short-grain variety labeled specifically for sushi, not regular white rice, as it has the right starch content to stick together.
- Rice Vinegar: This is what gives the rice its subtle tang and helps it stay at the perfect texture; don't skip it or substitute regular vinegar.
- Avocado: Choose one that yields slightly to pressure but isn't mushy, and slice it just before rolling to prevent browning.
- Cucumber: Julienne it into thin, even sticks so each bite has texture without overwhelming the other flavors.
- Nori (Seaweed Sheets): Buy the kind that comes pre-cut for sushi rolls, and keep them sealed tightly until you're ready to use them.
- Sesame Seeds: Toasting them yourself (just three minutes in a dry pan) makes a noticeable difference in flavor and crunch.
Tired of Takeout? 🥡
Get 10 meals you can make faster than delivery arrives. Seriously.
One email. No spam. Unsubscribe anytime.
Instructions
- Prepare the Rice Base:
- Rinse your sushi rice under cold water, stirring gently with your fingers until the water runs completely clear—this removes excess starch and prevents gluey rice. Cook it with one and a half cups of water, and the moment it's done, let it rest covered for ten minutes so the grains firm up slightly.
- Season While Warm:
- Mix your rice vinegar, sugar, and salt in a small bowl, then fold it gently into the warm rice using a cutting motion rather than stirring, which prevents the grains from breaking. This is when your kitchen will smell absolutely incredible—that tangy, slightly sweet aroma is how you know you're on the right track.
- Cool Before Rolling:
- Spread the seasoned rice on a clean plate or shallow bowl and let it come down to room temperature; warm rice will make your nori soggy and your rolls fall apart. You can fan it while it cools to speed things up.
- Build Your Roll Foundation:
- Place nori shiny side down on your bamboo mat, then wet your hands and spread about a quarter cup of cooled rice evenly across it, leaving a clear border at the top. The rice should be thin enough that you can still see the nori through it—too much rice and your rolls become dense and heavy.
- Layer Your Vegetables:
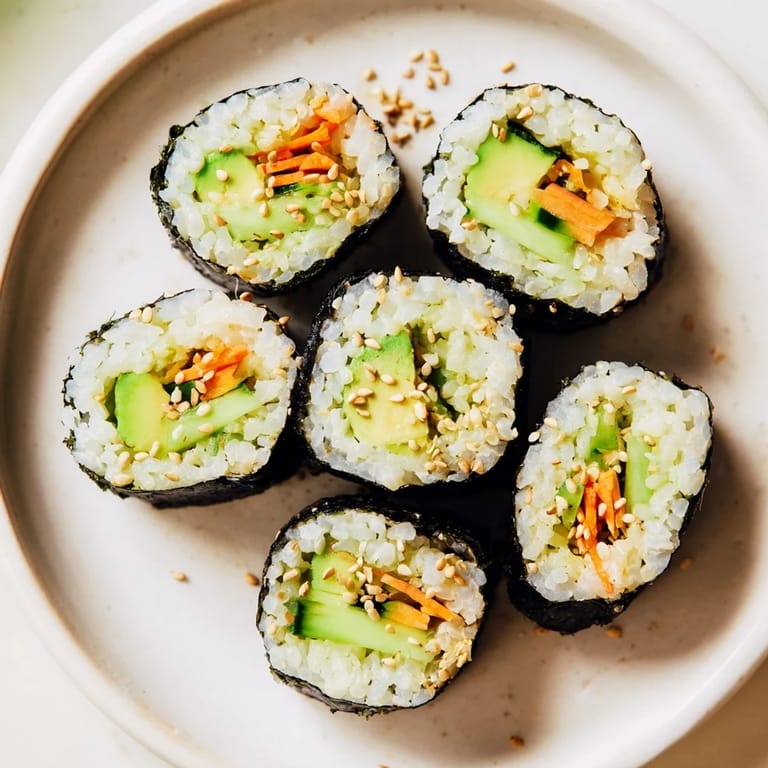
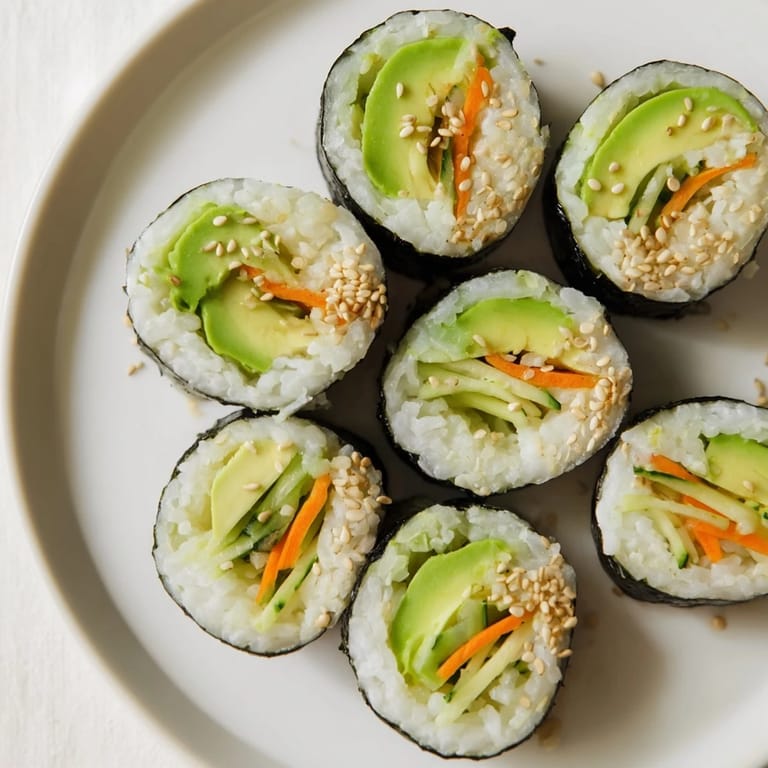
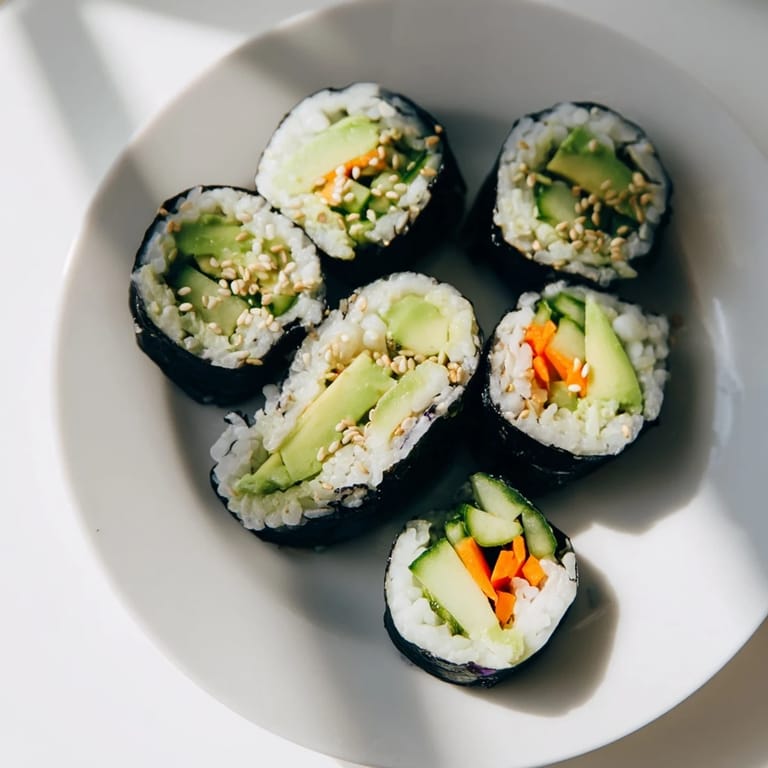
- Arrange your avocado slices, cucumber sticks, and carrot (if using) in a line along the bottom third of the rice, pressing them down lightly so they stay in place when you roll. A light sprinkle of sesame seeds here makes all the difference in texture and visual appeal.
- Execute the Roll:
- Using your mat as a guide, gently roll the nori away from you with steady, even pressure—not so tight that you crush the vegetables, but firm enough that the roll holds its shape. Just before the final seal, wet that bare rice border with a bit of water so it sticks together like glue.
- Slice with Precision:
- Let your rolls rest for a minute, then use a very sharp, wet knife (dip it between each cut) to slice each roll into six to eight pieces. A dull knife will squeeze your beautiful roll into a sad, compressed mess.
 Save to Pinterest
 These rolls have become my answer to almost every gathering—the quick lunch before a long drive, the appetizer that impresses people without requiring me to own a gas stove or complicated equipment, the reason my coworkers stopped bringing their sad desk lunches and started hanging around my desk instead. There's something special about handing someone a plate of homemade sushi and watching their surprise that you made it yourself.
The Secret to Perfect Sushi Rice
The rice is truly where the magic happens, and most people either over-complicate it or skip the seasoning step entirely. Once you nail the technique of rinsing until the water runs clear and folding in that vinegar mixture gently, you'll never buy premade sushi again. I've found that the best rice is made at least thirty minutes before you plan to roll, giving it time to cool and the seasoning to fully absorb into each grain.
Rolling Techniques and Common Mistakes
The bamboo mat is your best friend, and lining it with plastic wrap means you'll never have nori fibers stuck in the weave. I used to fight with my rolling technique until someone showed me that the motion should be smooth and confident rather than tentative—your hesitation translates directly into a loose, falling-apart roll. The plastic wrap trick also lets you reuse the same mat over and over without worrying about cleanup.
Variations and Serving Suggestions
Once you master the basic formula, you can swap vegetables based on what's in season or what you're craving—bell peppers add sweetness, daikon radish brings a peppery bite, and shredded carrots add brightness without changing the fundamental character of the roll. The beauty of this recipe is how forgiving it is; there's no single right way to fill it, just your way. Serve these with good soy sauce (or tamari if you're avoiding gluten), pickled ginger to cleanse your palate between bites, and wasabi for anyone who likes heat, and watch how quickly they disappear.
- Prepare all your vegetables and ingredients before you start rolling so you can work without pausing or searching for things.
- Keep a small bowl of water nearby for wetting your hands and your knife—it makes an enormous difference in the final result.
- If a roll doesn't seal properly, you can wrap a thin strip of nori around the seam to hold it together.
 Save to Pinterest
 Making sushi at home feels like a small act of joy, something you can do with your hands and create something beautiful and delicious in less time than it takes to order takeout. Every roll you make gets easier, and soon enough, you'll be the person everyone asks to bring sushi to the party.
Common Recipe Questions
- → How do I prepare sushi rice for these rolls?
Rinse the rice until water runs clear, then simmer with water until absorbed. Mix in rice vinegar, sugar, and salt while the rice is still warm, then let it cool before use.
- → Can I use other vegetables in these rolls?
Yes, adding bell pepper, radish, or carrot sticks can enhance the flavor and texture variety of the rolls.
- → What is the best way to roll sushi tightly?
Use a bamboo rolling mat and press gently while rolling, moistening the nori edge to seal the roll tightly.
- → Are these rolls suitable for gluten-free diets?
They are naturally gluten-free when using tamari instead of soy sauce and ensure all ingredients meet gluten-free standards.
- → How can I add protein to these veggie rolls?
Incorporate strips of tofu or tempeh into the fillings for a boost of plant-based protein.