 Save to Pinterest
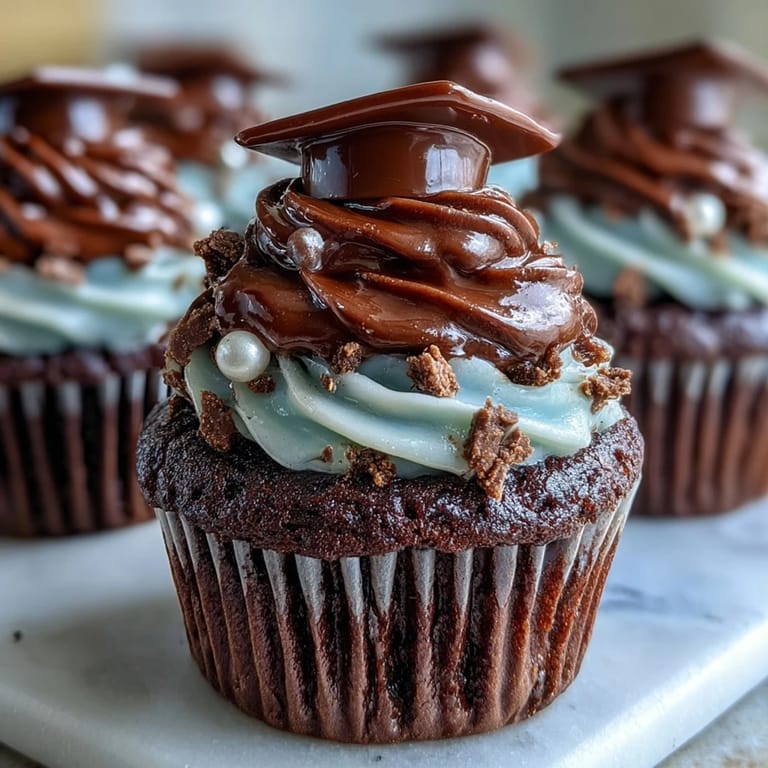
 My niece texted me three weeks before her graduation with one request: cupcakes with tiny caps on top. I found myself at the kitchen counter on a warm June afternoon, suddenly tasked with turning buttercream and candy into edible celebration. These aren't complicated—they're the opposite—but watching her face light up when she saw them made every piped swirl feel like the most important thing I'd ever baked.
I still remember my friend Sarah asking if I could make these for her son's graduation party, giving me maybe a week's notice. I was stressed until I actually started mixing, then realized the whole thing—batter to frosting to tiny edible caps—takes less time than most people spend scrolling through recipes. That night, watching a dozen proud families gather around a table with these cupcakes made the simple act of baking feel genuinely meaningful.
Ingredients
- All-purpose flour (1 1/2 cups): This is your base, and measuring by weight if you have a scale will save you from dense, heavy cupcakes.
- Granulated sugar (1 cup): Don't skimp here—it's what makes these tender and gives the frosting that light, cloud-like texture.
- Unsalted butter (1/2 cup for batter, 1/2 cup for frosting): Room temperature is non-negotiable, or you'll end up with lumps instead of fluffy crumb.
- Large eggs (2): These need to be room temperature too, which actually means taking them out about 30 minutes before you start.
- Whole milk (1/2 cup for batter, 2 tbsp for frosting): It creates moisture and tenderness in a way that water never could.
- Baking powder (1 1/2 tsp): This is what gives you that gentle rise and those little tender crumbs people actually want to bite into.
- Salt (1/4 tsp for batter, pinch for frosting): Salt might sound odd in sweets, but it's the secret that makes everything taste less one-dimensional.
- Pure vanilla extract (1 1/2 tsp for batter, 1 tsp for frosting): Use real vanilla, not the imitation stuff—the difference is genuinely noticeable.
- Powdered sugar (2 cups, sifted): Sifting matters because lumps in frosting are basically the worst.
- Mini peanut butter cups or chocolate squares (12 pieces): These form the base of your graduation caps, so pick ones you actually like eating.
- Chocolate square candies like Ghirardelli (12 pieces): These are the flat part of the cap, so choose ones that are actually square-shaped and not weirdly melted.
- String licorice or sour candy strips (12 pieces): The tassel is what makes these recognizable, so don't skip it or substitute with something that won't hold its shape.
- Mini M&Ms or candy pearls (12 pieces): The tiny button on top of the cap—this is honestly the cutest part and worth the trip to find the right candy.
- Melted chocolate or extra frosting (for assembly): This acts as your edible glue, so either works depending on what you have.
Tired of Takeout? 🥡
Get 10 meals you can make faster than delivery arrives. Seriously.
One email. No spam. Unsubscribe anytime.
Instructions
- Heat Your Oven and Prep Your Tin:
- Set it to 350°F and line your muffin tin with paper liners while it preheats—this prevents any sticking nightmares later. Having everything ready before you start mixing is the kind of small move that keeps baking stress-free.
- Cream Butter and Sugar Until Light and Fluffy:
- This step takes about 2-3 minutes with an electric mixer and is where air gets incorporated into your batter. You'll know you're done when the mixture looks pale, almost like fluffy clouds, and the sugar grains have dissolved.
- Add Eggs One at a Time:
- Drop in one egg, beat until it's completely mixed in, then repeat with the second one. This ensures they emulsify properly instead of making your batter look broken or separated.
- Stir in Vanilla:
- Just a quick stir to distribute that vanilla flavor evenly throughout.
- Mix Dry Ingredients Separately:
- In another bowl, whisk together your flour, baking powder, and salt so everything is evenly distributed. This prevents pockets of baking powder that would make some cupcakes rise more than others.
- Alternate Dry and Wet in the Mixing Bowl:
- Start with half your dry mix, stir it into the butter mixture, then add milk, then the remaining dry ingredients. This technique prevents overmixing, which would make your cupcakes tough instead of tender.
- Fill Liners and Bake:
- Divide batter evenly—I use an ice cream scoop for consistency—and bake for 18-20 minutes until a toothpick comes out clean or with just a few crumbs. Don't overbake or you'll end up with dry cupcakes that nobody gets excited about.
- Let Cupcakes Cool Completely:
- This is not the time to rush—frosting warm cupcakes will make everything melt and slide off. Let them sit on the counter for at least an hour, or pop them in the fridge to speed things up.
- Make Your Frosting:
- Beat softened butter until it's smooth and creamy, then gradually add sifted powdered sugar a little at a time so you don't create a powdered sugar cloud in your kitchen. Add milk, vanilla, and salt, then beat until it's light and fluffy and spreadable.
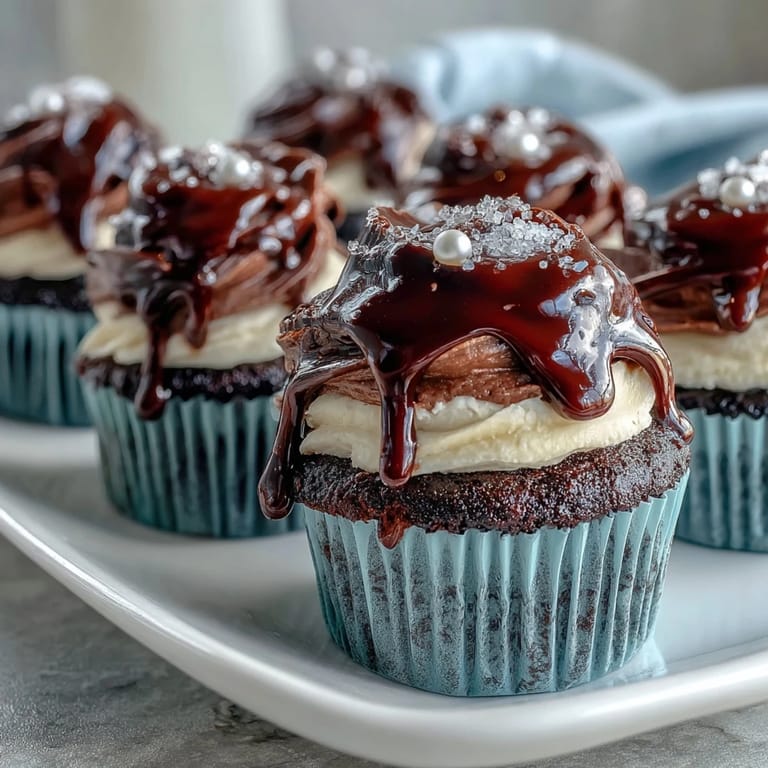
- Frost Your Cupcakes:
- Use a piping bag for those Instagram-worthy swirls, or just use a spoon and make it look casual and charming. Either way works because people eat with their eyes first, then their mouths.
- Assemble the Graduation Caps:
- Place a chocolate square flat-side up, attach a mini peanut butter cup upside-down in the center using a tiny dab of melted chocolate or frosting as glue. Add your licorice tassel and mini M&M button, then let everything set for a few minutes so it doesn't slide around.
- Crown Your Cupcakes:
- Place each finished cap on top of a frosted cupcake and step back to admire your handiwork.
 Save to Pinterest
 There's something about watching someone bite into a cupcake you made, seeing that moment of recognition when they realize it tastes as good as it looks. My niece ate hers slowly that graduation day, savoring each bite like she was trying to remember the feeling forever, and that's when I understood why people bake for celebrations at all.
Why These Cupcakes Work for Any Celebration
These aren't just for graduations, though they're perfect for that. I've made them for promotions, achievements, first days of school, and just because someone needed celebrating. The beauty is that the base recipe is foolproof—classic vanilla that nobody gets tired of—while the decoration transforms them into whatever moment you're marking. Swap out the candy caps for simple piped frosting rosettes and they work for birthdays or anniversaries.
Storing and Making Ahead
Bake these up to two days ahead if you need to, storing them unfrosted in an airtight container at room temperature. Frost them the morning of your event, but assemble the caps just a few hours before serving so they stay crisp and don't start to soften from the humidity. If you're making these for a party where timing feels impossible, know that they travel well in a sturdy box and hold up fine through a car ride or a few hours sitting on a dessert table.
Customizing for Colors and Allergies
Food coloring added to your frosting transforms these into school colors instantly—just remember that a tiny drop goes a long way, and it's better to add gradually than end up with neon bright frosting you didn't intend. For nut allergies, skip the peanut butter cups and use all chocolate, or swap in any small candy that fits the vibe. Always check candy labels though, because sometimes hidden allergens live in unexpected places, and that moment of discovery is never the right time to find out.
- Green and gold frosting with matching candies looks sophisticated for any academic achievement.
- Red and white or blue and white combinations feel patriotic and work beautifully for school spirit.
- Metallic edible dust brushed onto the chocolate squares adds a fancy touch that makes everything feel more elevated.
 Save to Pinterest
 Baking for someone's moment of triumph is a quiet way of saying you believe in them. These cupcakes have been part of some genuinely joyful celebrations, and they'll be part of yours too.
Common Recipe Questions
- → How do I make the edible cap toppers?
Use a chocolate square as the base, attach an inverted mini peanut butter cup in the center with melted chocolate or frosting, add a licorice strand for the tassel, and top with a mini candy for the button.
- → Can I make these cupcakes nut-free?
Yes, substitute peanut butter cups with chocolate squares and ensure all candies are nut-free to accommodate allergies.
- → What is the best way to store these cupcakes?
Keep the cupcakes in an airtight container at room temperature. They stay fresh for up to 2 days.
- → Can I add color to the frosting?
Yes, food coloring can be mixed into the buttercream frosting to match your preferred graduation colors.
- → What baking tools do I need?
A muffin tin lined with paper liners, mixing bowls, an electric mixer, spatula, and a piping bag or spoon for frosting are essential.