 Save to Pinterest
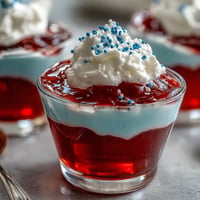
 The soft hum of the mixer always kicks off this cheesecake for me, but it was the quiet anticipation on the morning of Mother’s Day that made this recipe feel extra special. There’s something deeply satisfying about pulling together a dessert that doesn’t require an oven, especially when sunny weather and open windows beg you to stay out of the kitchen. The sweet scent of melted butter mixed with crushed biscuits always hits first, followed by the sharp brightness of fresh raspberries simmering gently on the stove. I still associate the tartness in the air with laughter and clinking glasses from last spring’s celebration. This is more than a dessert—it’s a joyful pause I look forward to every May.
I remember making this for my mom while she read in her favorite chair nearby, occasionally peeking into the kitchen to ask if she could “help taste-test.” The two of us ended up scooping out leftover coulis right from the pan, already plotting which summer fruits to try next time. She declared right then that this recipe was staying in our family. There’s a relaxed pace to making it, which seems to set the tone for the whole day. By evening, the cheesecake had become the centerpiece of our little celebration, draped in bright red sauce and surrounded by happy forks.
Ingredients
- Digestive biscuits (or graham crackers): Crushing them fine gives the base its perfect sandy texture; don’t be shy about using your hands if you don’t have a food processor.
- Unsalted butter: Melt it but don’t let it scorch, or the crust will taste burnt rather than toasty.
- Cream cheese: Let it soften at room temperature for ultra-smooth blending—a block style works best.
- Double cream (heavy cream): Whip it cold for volume, but watch closely to avoid over-whipping into butter.
- Powdered sugar: Sifts right into the filling, leaving no crunchy sugar surprises behind.
- Vanilla extract: Just a dash deepens every bite, and the smell alone feels like a reward.
- Lemon juice: Both in the filling and coulis, it’s the zing that balances the richness and brings out the berries’ flavor.
- Fresh raspberries: Use the ripest you can find—frozen work in a pinch, but fresh make for brighter color and taste in the coulis.
- Granulated sugar: Sweetens the coulis without overshadowing the fruit’s natural tartness.
Tired of Takeout? 🥡
Get 10 meals you can make faster than delivery arrives. Seriously.
One email. No spam. Unsubscribe anytime.
Instructions
- Crush the biscuits:
- Throw the biscuits in a food processor and pulse until you have fine crumbs; if you’re feeling old-school, a rolling pin and a zip-top bag do the trick too (cue satisfying crunching noises).
- Mix and mold the base:
- Pour in melted butter, stir until every crumb glistens, then press the mixture firmly into a lined springform tin—use the bottom of a glass to even it out.
- Chill the crust:
- Pop the tin in the fridge for twenty minutes so the base firms up while you prep the filling.
- Beat the cream cheese:
- In a mixing bowl, whip the cream cheese until it loses all lumps and looks glossy and smooth.
- Add the flavorings:
- Sift in powdered sugar, spoon in vanilla, and squeeze in lemon juice; mix until seamlessly combined, tasting as you go.
- Whip the cream:
- In a separate chilled bowl, beat the double cream just until soft peaks form—it should hold its shape but still be silky.
- Fold the mixtures:
- Gently blend the whipped cream into the cream cheese mixture, using a spatula to keep the texture light and airy.
- Pour and smooth:
- Spoon the filling over the crust, spreading it with a palette knife for a flat finish, then cover and chill for at least six hours, preferably overnight.
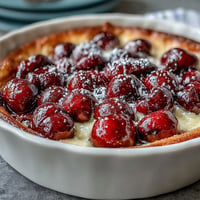
- Simmer the raspberries:
- In a small saucepan, stir together raspberries, sugar, and lemon juice over medium heat; let them bubble and break down for five to seven minutes.
- Strain the coulis:
- Push the raspberry mixture through a fine mesh sieve; scrape well to get all the vibrant sauce, and cool before serving.
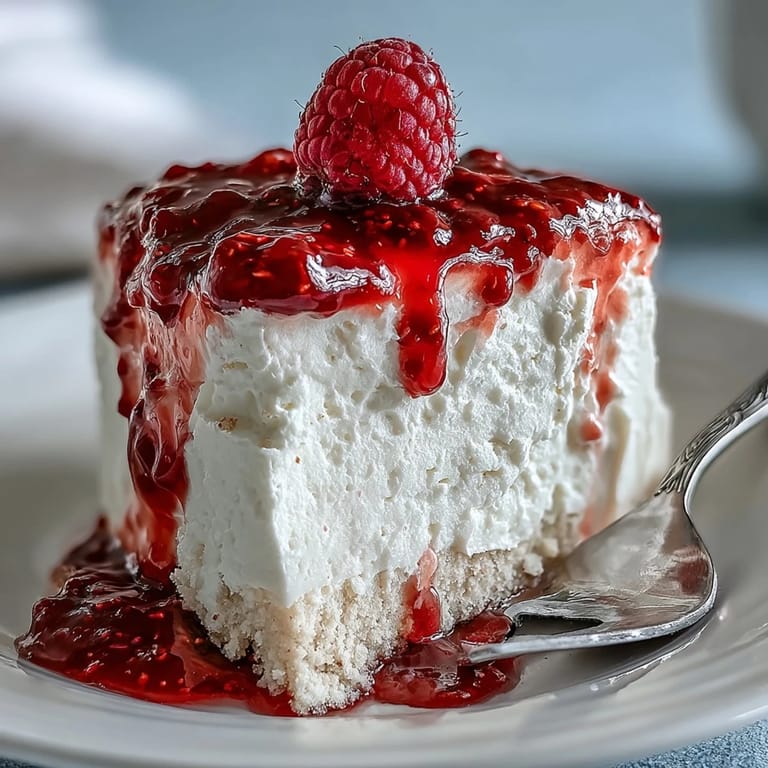
- Finish and serve:
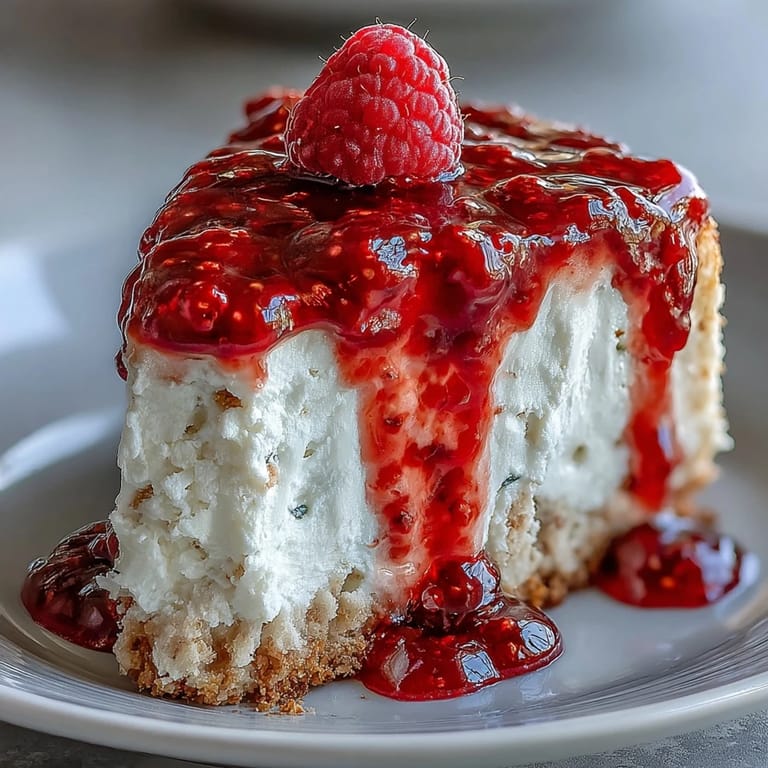
- Unclip the springform tin, slide the cheesecake onto a platter, then drizzle with coulis and scatter a few fresh berries for that festive flourish.
 Save to Pinterest
  Save to Pinterest
 One year, after a full day of laughter and meals together, my family ended up eating slices straight from the pan with forks, swapping stories late into the night. It’s in those unplanned, slightly messy moments that this cheesecake always turns into something more—a bit of edible happiness shared just because we can.
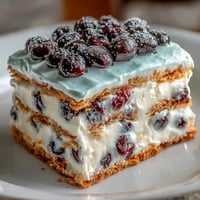
How to Make It Your Own
I love switching up the coulis with whatever berries are at their peak—strawberries give it a softer sweetness, while blueberries add a gorgeous hue. Sometimes, adding a sprinkle of finely grated lemon zest to the filling or base brings extra brightness. Playing with shaped parchment cut-outs on top before pouring the coulis makes for a playful, ever-changing pattern that guests always notice. And if you want a gluten-free treat, just swap in your favorite gluten-free biscuits for an easy win. Flexibility is on your side with this one.
Storing and Serving Suggestions
Once set, the cheesecake keeps beautifully chilled for up to three days—just cover it well so it doesn’t pick up fridge flavors. I’ve found it slices best with a knife dipped in hot water and wiped clean between cuts. Leftover coulis brightens up pancakes or yogurt bowls the next day. For gatherings, I’ll double the coulis and serve a pitcher on the side so everyone can drizzle as they please. Serving on a cake stand turns it into an instant centerpiece.
Little Kitchen Lessons Along the Way
Nothing builds confidence in the kitchen like realizing you can make something show-stopping without fancy gear or oven skills. Each time I’ve made this, I’ve noticed how smoothing the filling with a palette knife, as if you’re icing a cake, makes the final result look bakery-worthy. If the filling looks too loose before chilling, just let it rest—cold works its magic.
- Always use cold cream for whipping—your peaks will thank you.
- Try a pinch of salt in the base for subtle contrast.
- Keep an eye on the coulis so it doesn’t over-reduce; you want it pourable, not jam-like.
 Save to Pinterest
 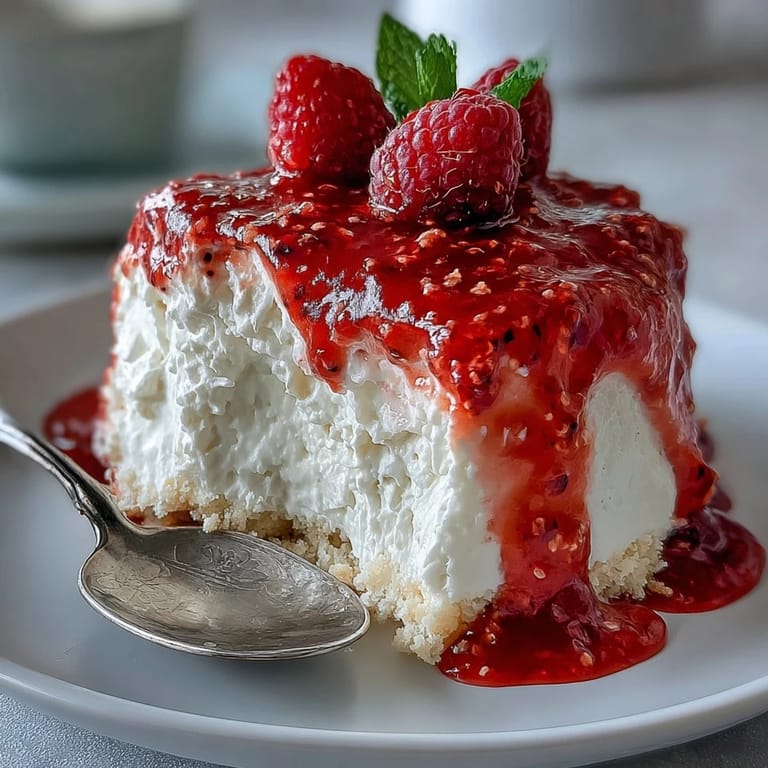 Save to Pinterest
 May this cheesecake bring moments as sweet and relaxed to your table as it always has to mine. Here’s to easy desserts and good company, no matter the season.
Common Recipe Questions
- → How do I stop the crust from becoming soggy?
Press the biscuit crumbs firmly into the tin and chill the base for at least 20 minutes before adding the filling. Melted butter should be evenly mixed with the crumbs so they bind and form a barrier that helps resist moisture from the filling.
- → Can I use frozen raspberries for the coulis?
Yes. Thaw frozen raspberries first, then simmer with sugar and lemon as usual. They may release more liquid, so you can reduce the cooking time slightly before straining to concentrate the flavor.
- → How long does the cheesecake need to set?
Refrigerate for at least 6 hours, preferably overnight, to allow the filling to firm up. Cold temperatures help the whipped cream and cream cheese bind for clean slices.
- → What can I substitute for double cream?
Use heavy whipping cream as a direct substitute. For a lighter texture, try whipping a combination of Greek yogurt and cream, but the final set and mouthfeel will be slightly different.
- → How do I get a smooth, seed-free coulis?
Cook the raspberries until they break down, then push the mixture through a fine mesh sieve with a spatula to remove seeds. Chill the strained coulis before spooning over the cheesecake.
- → Can this be made gluten-free or prepared ahead?
Use gluten-free biscuits for the crust to make it gluten-free. The cheesecake can be made a day in advance; assemble the coulis on the same day or the day before and store both components chilled until serving.